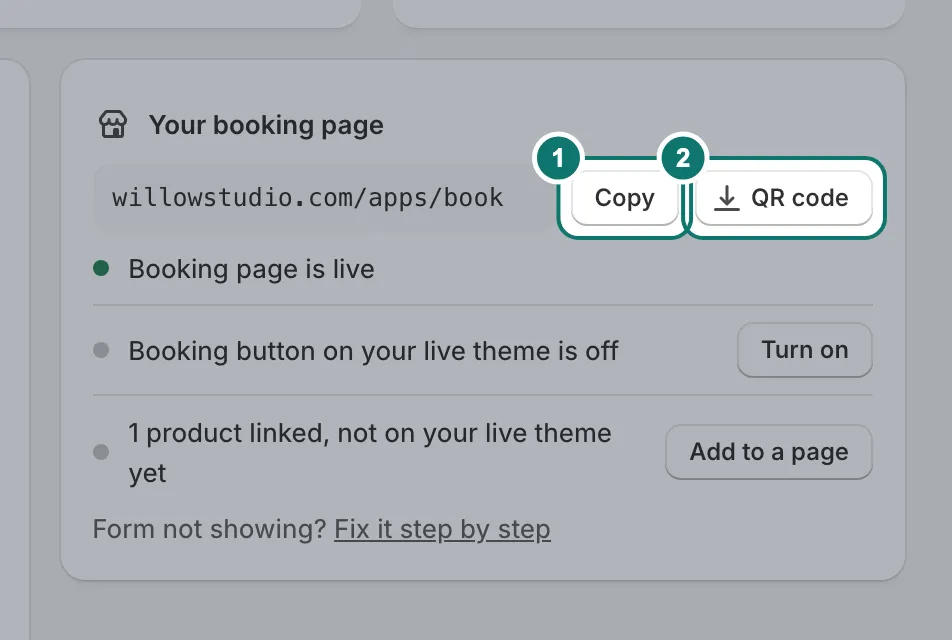
After you install Bookmerce from the Shopify App Store, it opens inside your Shopify admin. On a new store, Home has a checklist that ticks itself off as you go. Each step takes about a minute.
1. Add a service
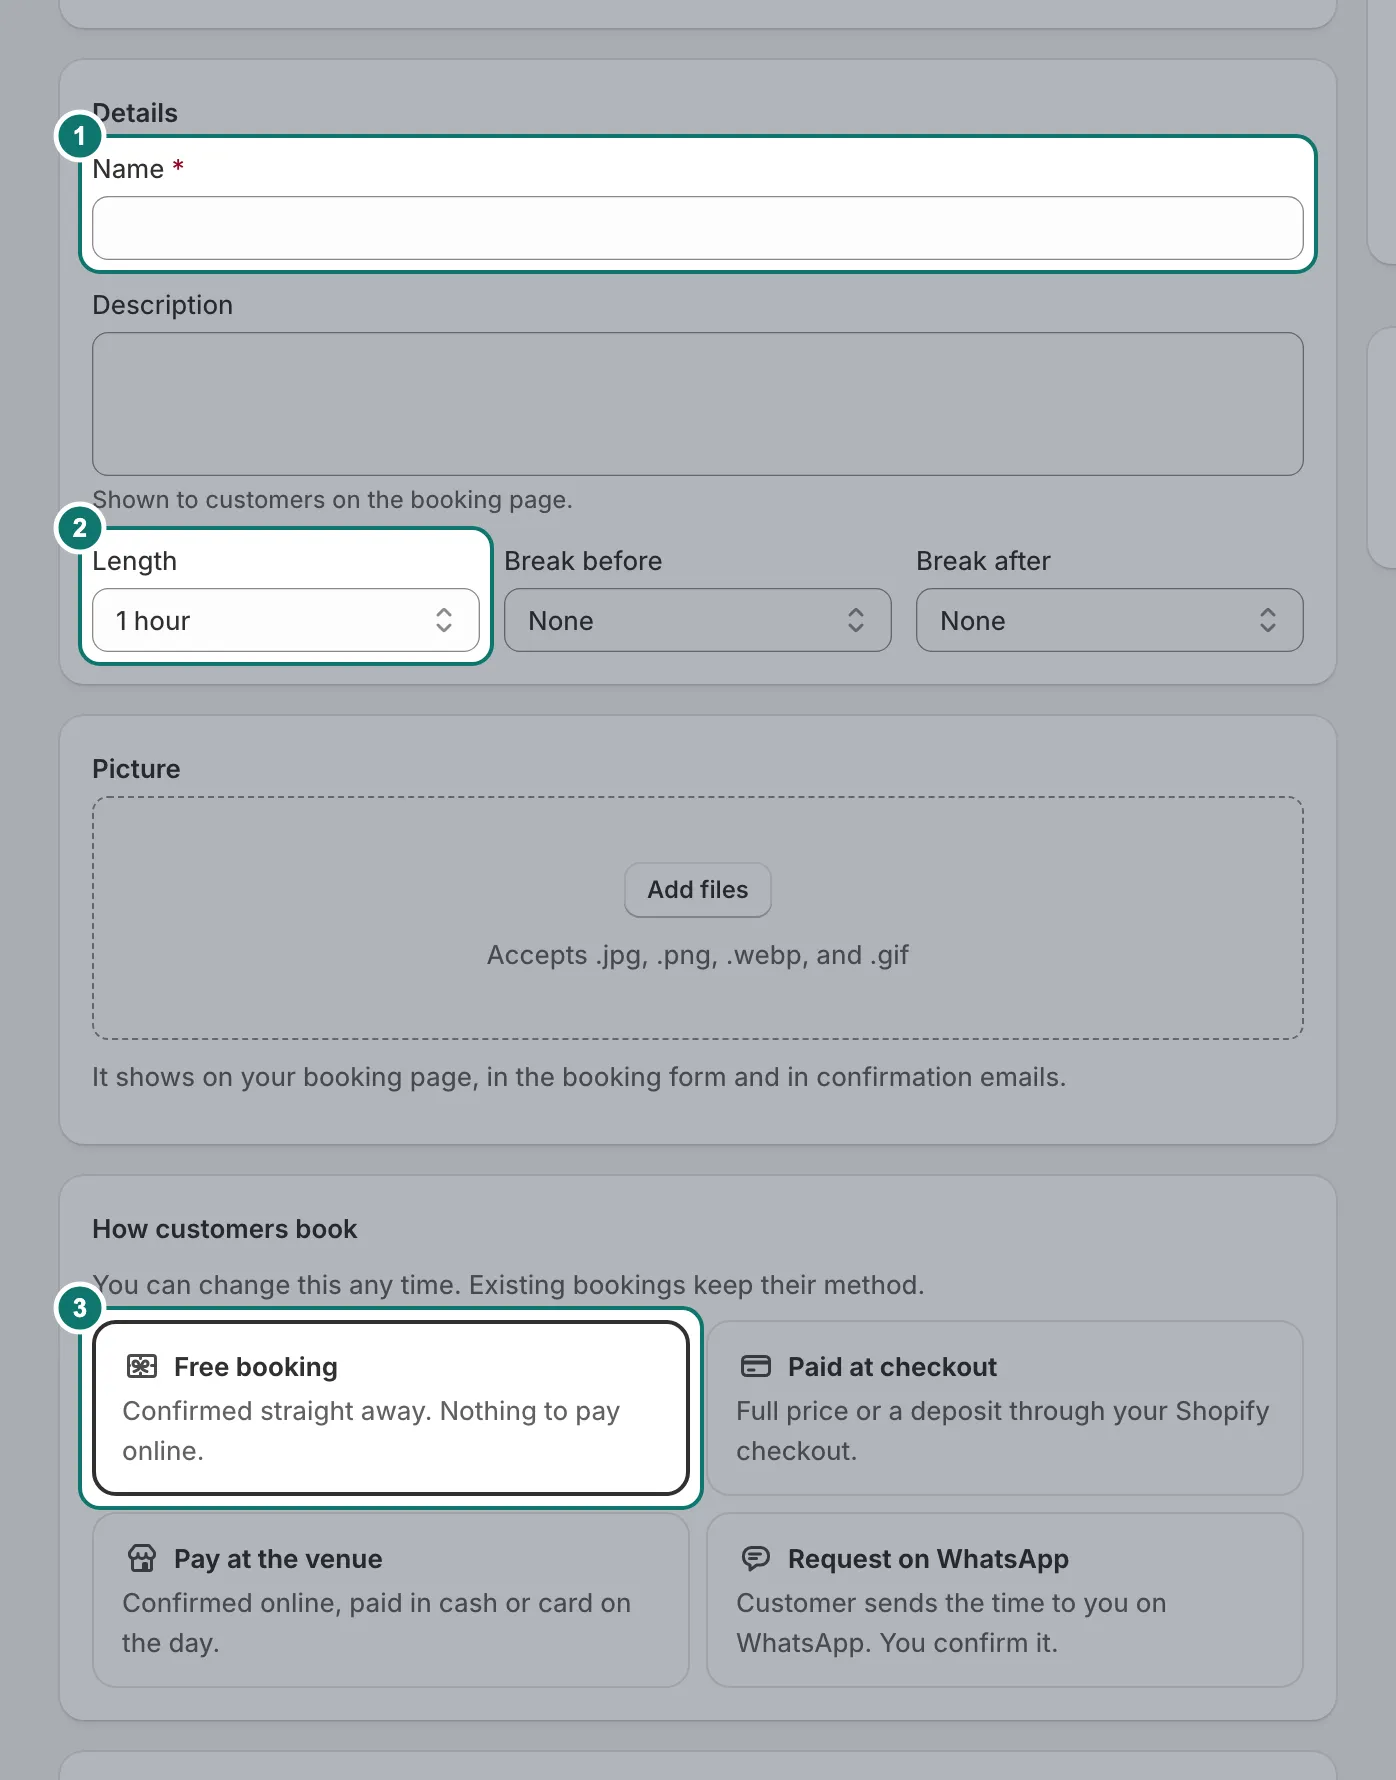
In Services & events, add a service. Give it a name and a length, and choose how customers book: free, paid at checkout, pay at the venue, or a request on WhatsApp.
2. Set your opening hours
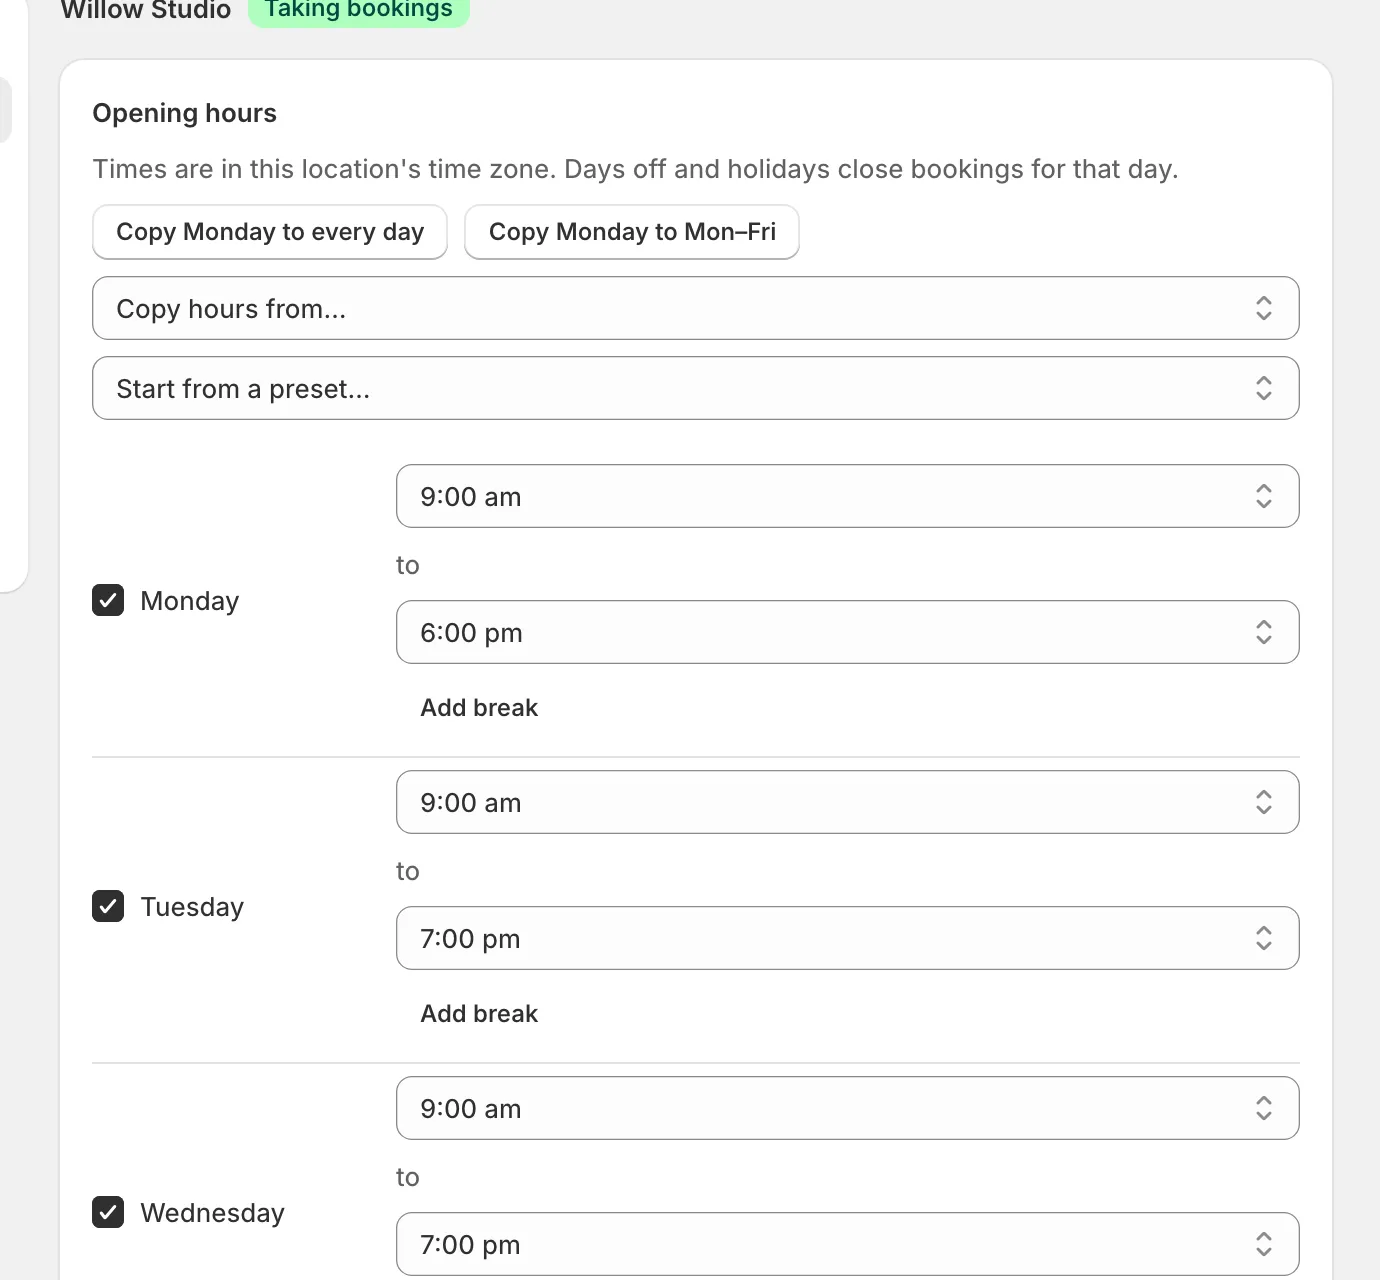
Open Settings › Hours & locations, pick your location and set the hours for each day. Untick a day to close it.
3. Turn on booking in your theme
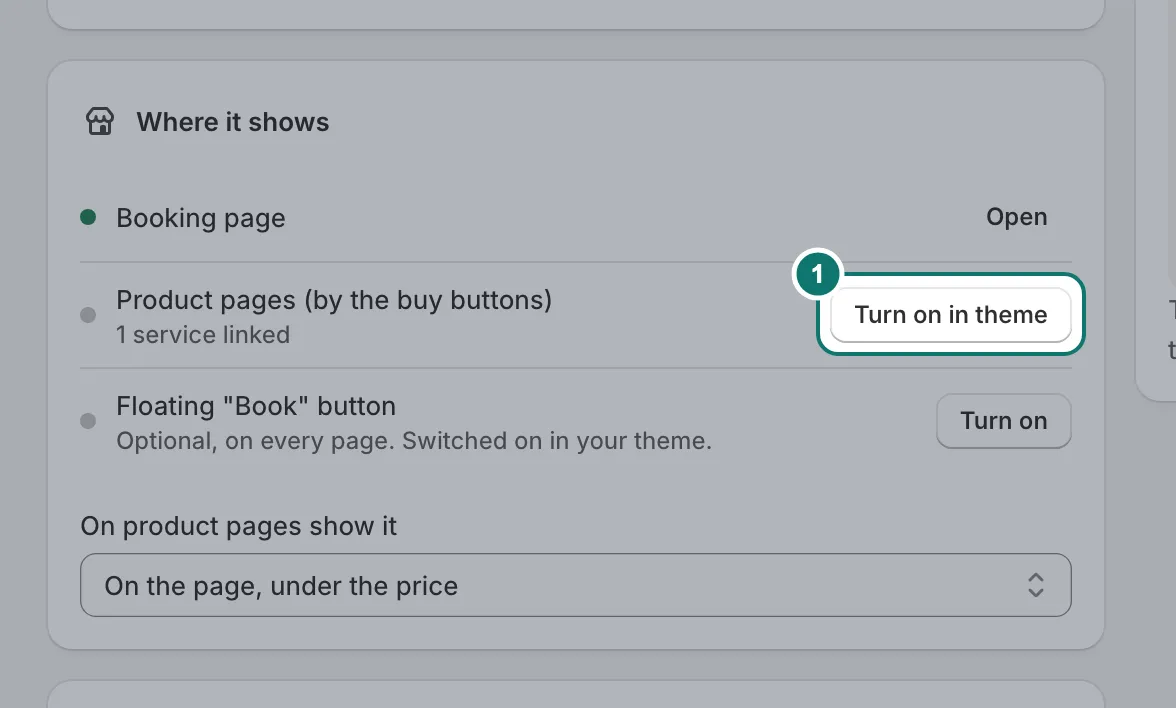
On the Appearance page, under Where it shows, press Turn on in theme next to Product pages. Your theme editor opens with the switch showing. Turn it on and press Save.
4. Show the form
Link a service to a product, and the form appears by that product’s buy buttons. See Booking on product pages. For other pages, add the Booking block in the theme editor.
5. Make a test booking
Book a time on your store, as a customer would. Then find the booking in Bookings. You can cancel it afterwards.
If the form doesn’t show, check that booking is switched on in the theme you published, that the service is active, and that it has free times in the coming weeks. Home warns you when a service has no free times and says why.
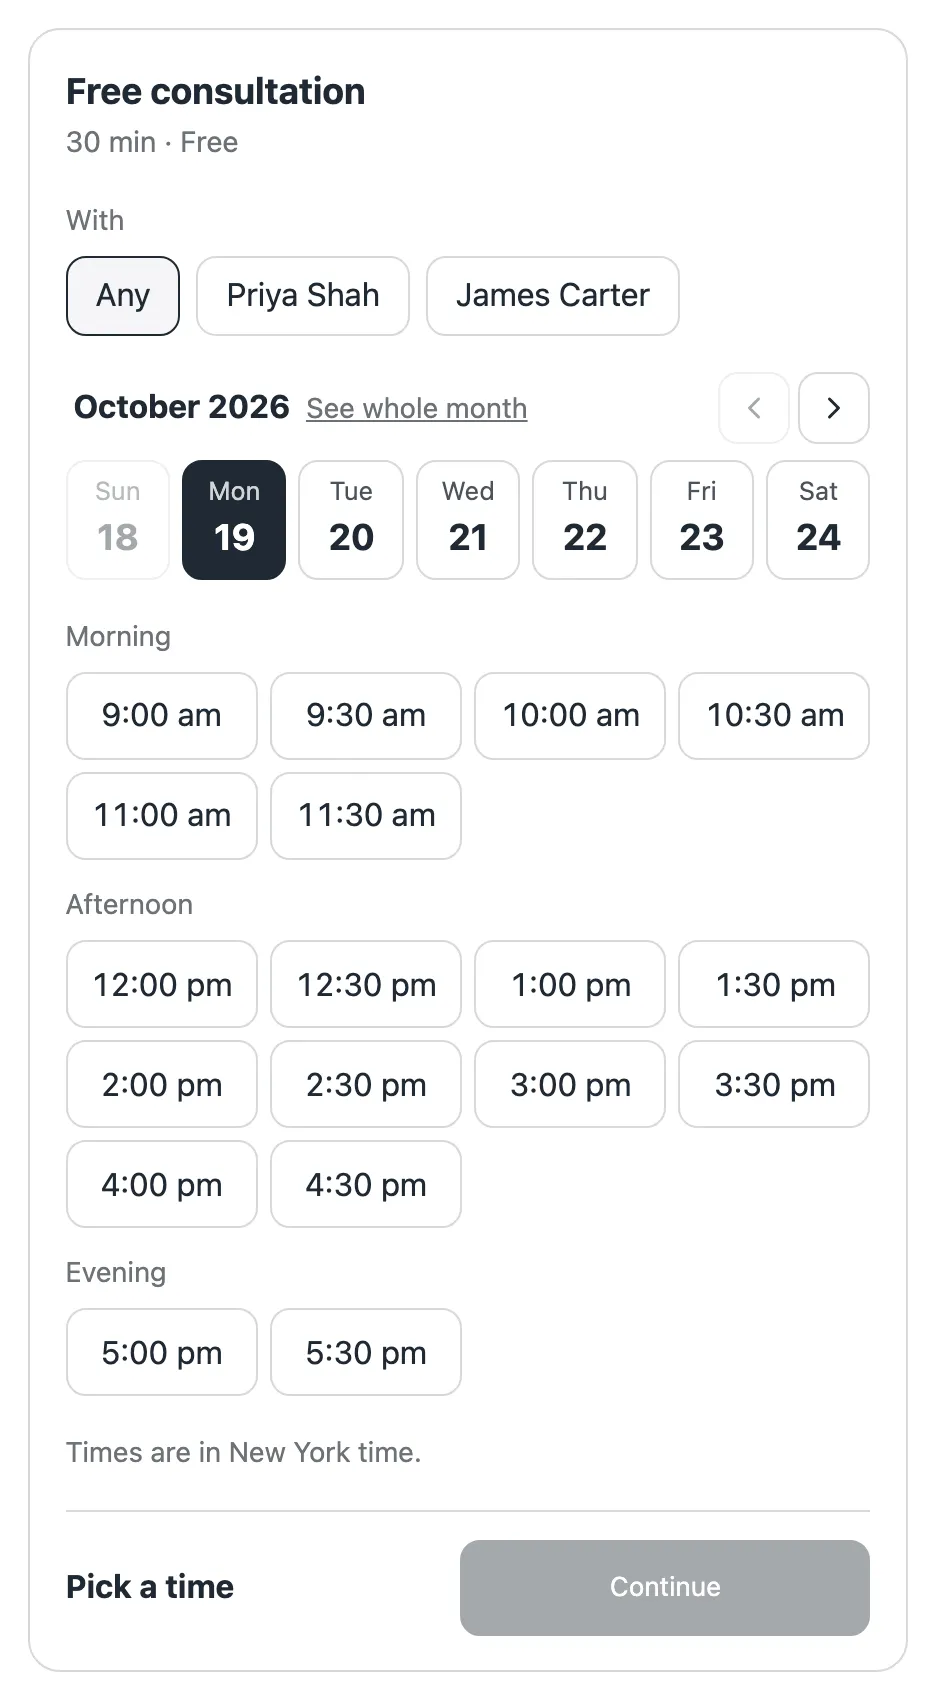
Your booking page
Every store also gets a booking page at yourstore.com/apps/book, and each service has its own link. Share them on Instagram or WhatsApp, or print the QR code.